Digital Geometry Processing
Exercise2-Photoscan
Computer Graphics Group
Photogrammetry
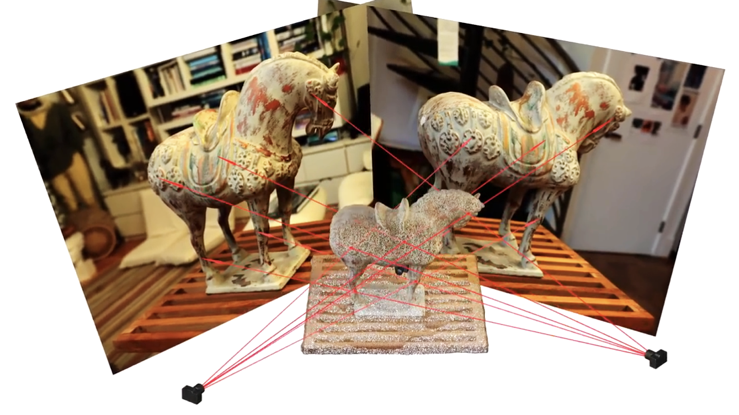
Photogrammetry: idea
- Using 2d features and a set of photos, it is possible to solve for the camera poses and feature point locations in 3d space
Photogrammetry: idea
- To get a full model a photogrammetry software simultaneously solves for the locations of all surface points for all the photos
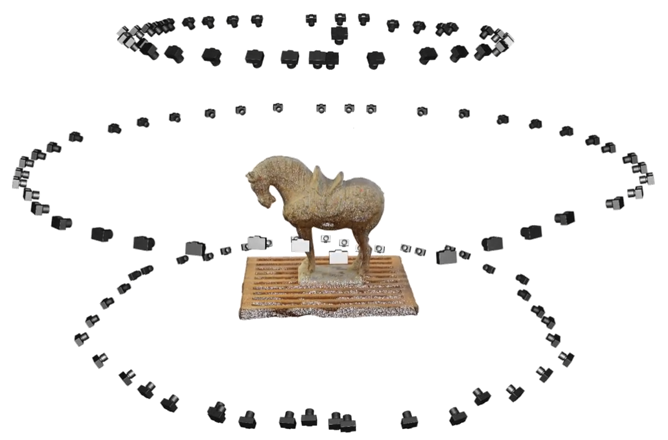
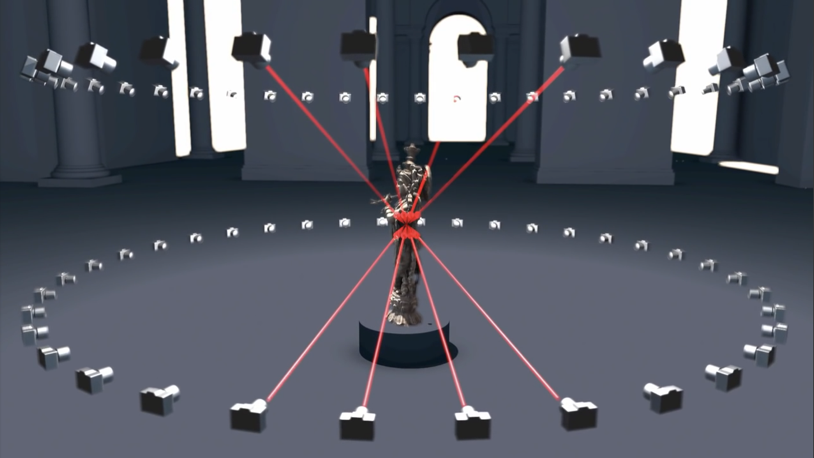
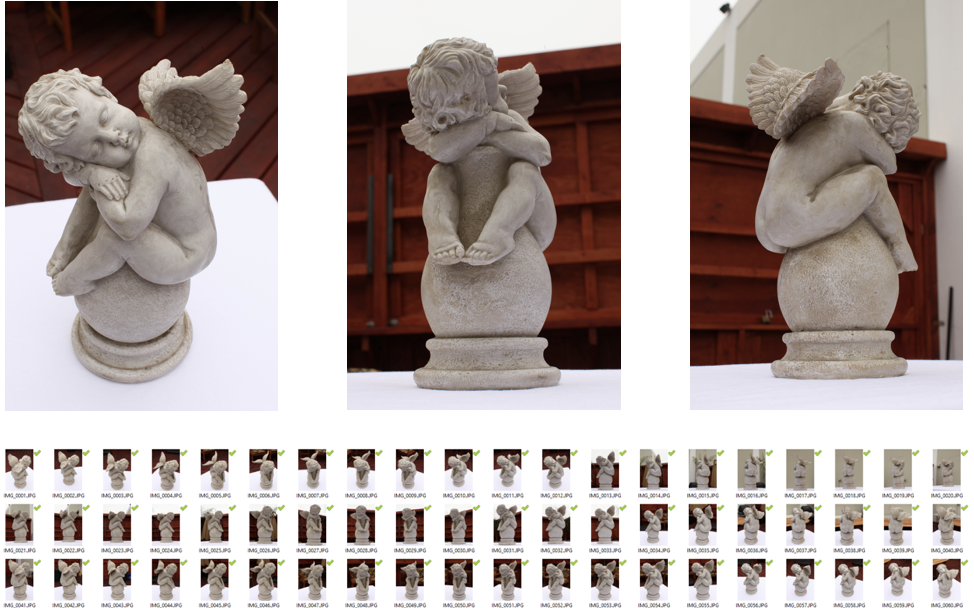
How to Take Photos
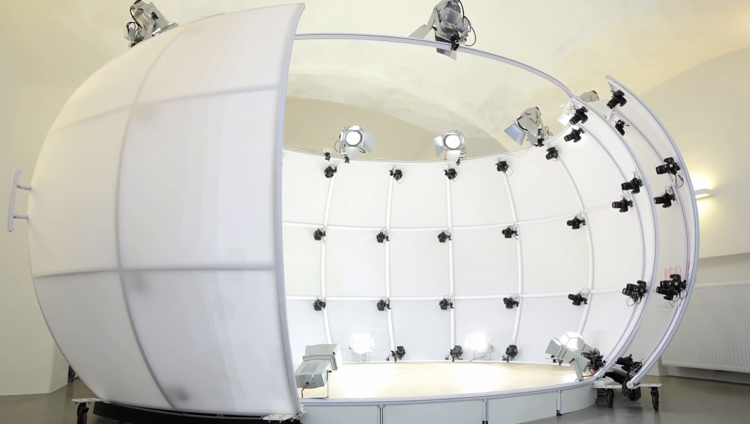
- Photo booth – hundreds of cameras in a spherical or cylindrical setup around the object. Often they have diffuse lighting built-in as well
- It is a good idea to keep this technique in mind as you can try to replicate the camera angles and the flat even lighting with a single camera
How to Take Photos

- The common way is moving your camera around the subject
- Shoot full loops of photos in increments of 5 to 15 degrees
- If the object is complex and has lots of occlusions, shoot in smaller increments
How to Take Photos
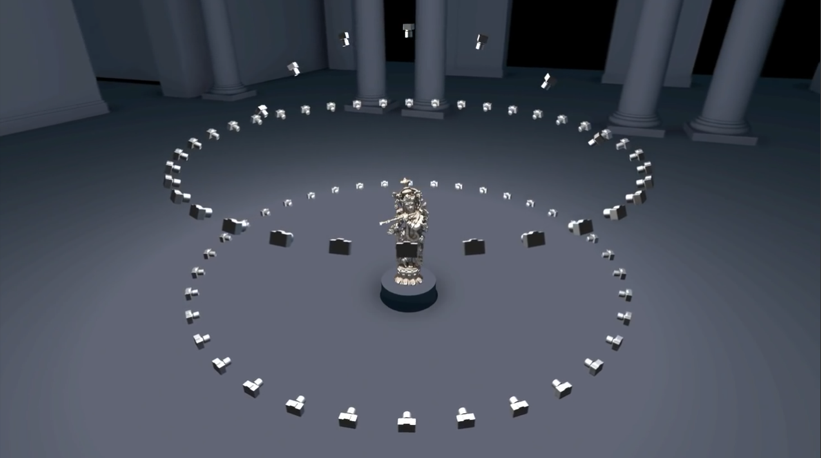
- Take several loops in different heights and then take extra photos to fill in any heavily occluded areas
How to Take Photos
- Any surface of the object should be visible on at least two or more photos to be reconstructed in 3D
How to Take Photos
- Try to fill as much of the frame as possible with the object
How to Take Photos

- For bigger objects or to get higher resolution textures move closer to the objects and shoot in overlapping rows
- A good rule of thumb is to get 40 % overlap
How to Take Photos
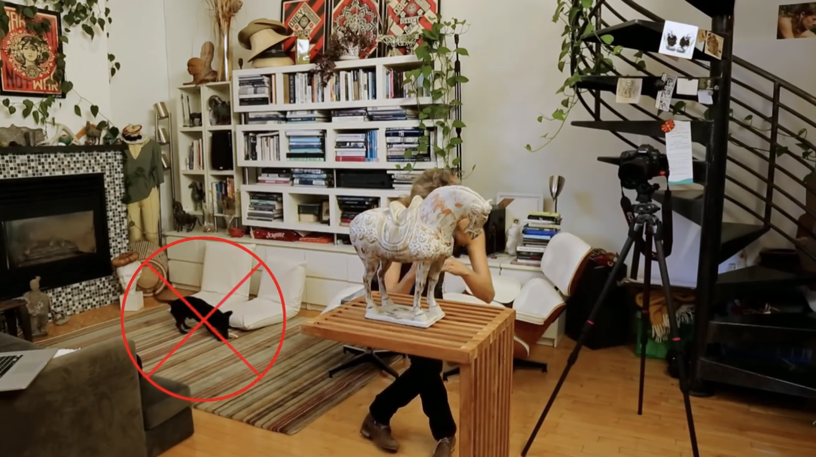
- Make sure that nothing moves in the scene while you are shooting
Choosing an Object
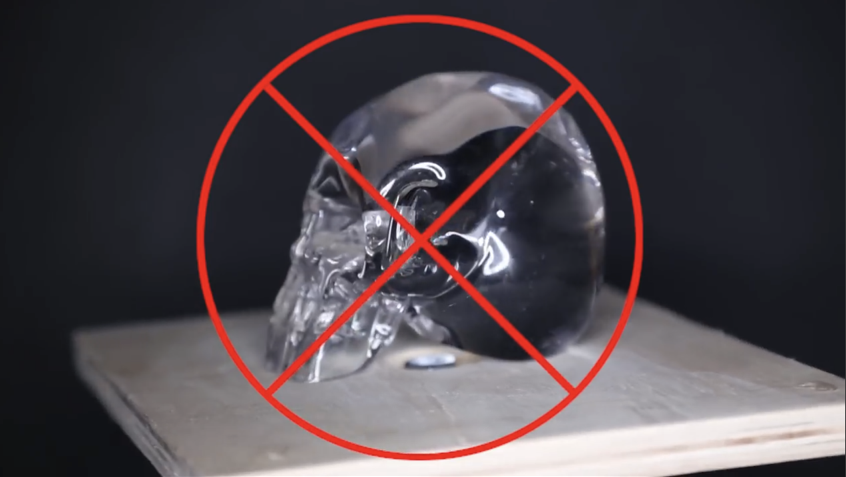
- Some objects will not work: transparent, translucent, shiny, heavily specular or reflective objects
Choosing an Object
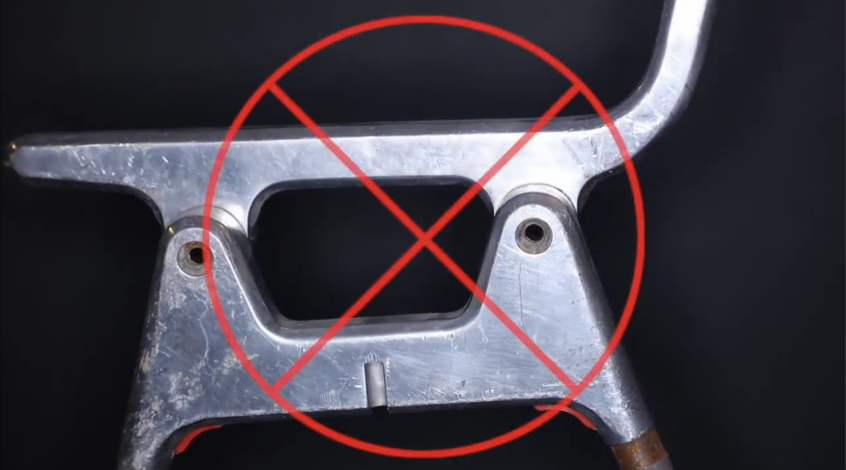
- Anything that looks different when viewed from different angles
Choosing an Object
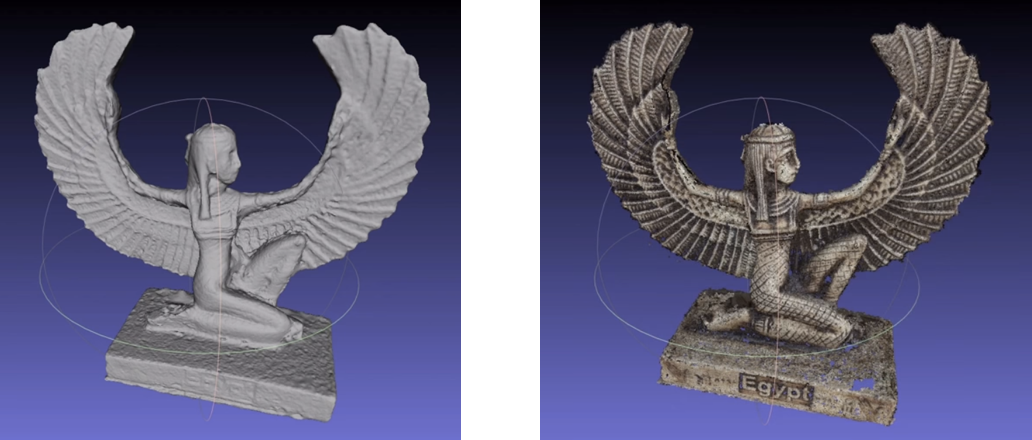
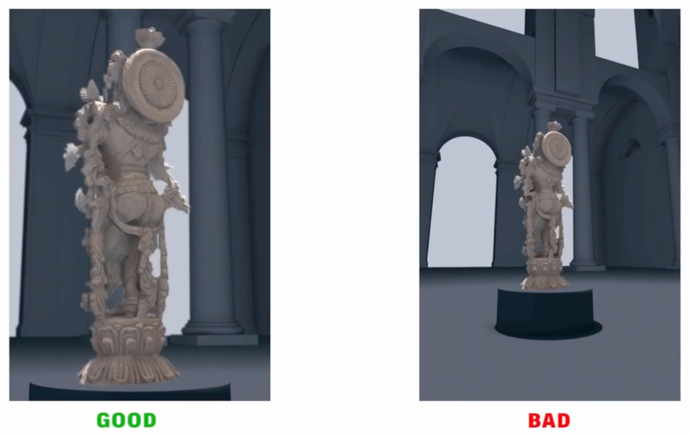
- Example of a good object
Choosing an Object
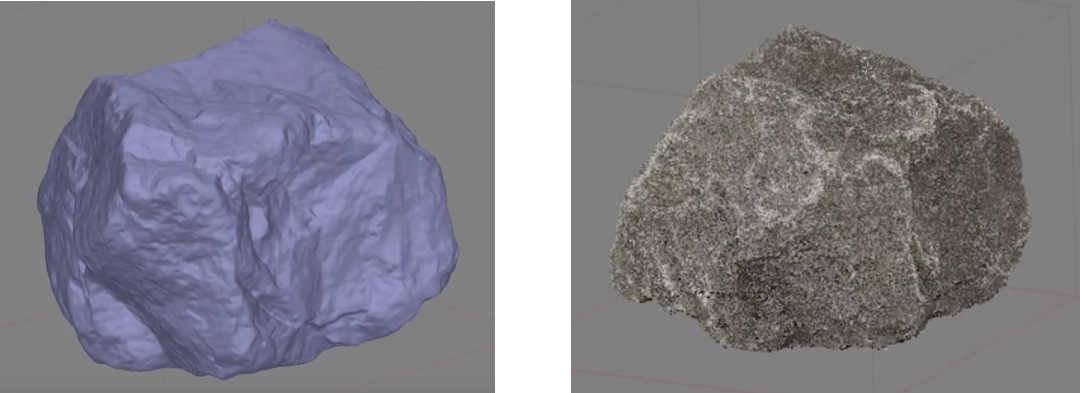
- Example of a good object
Using Metashape
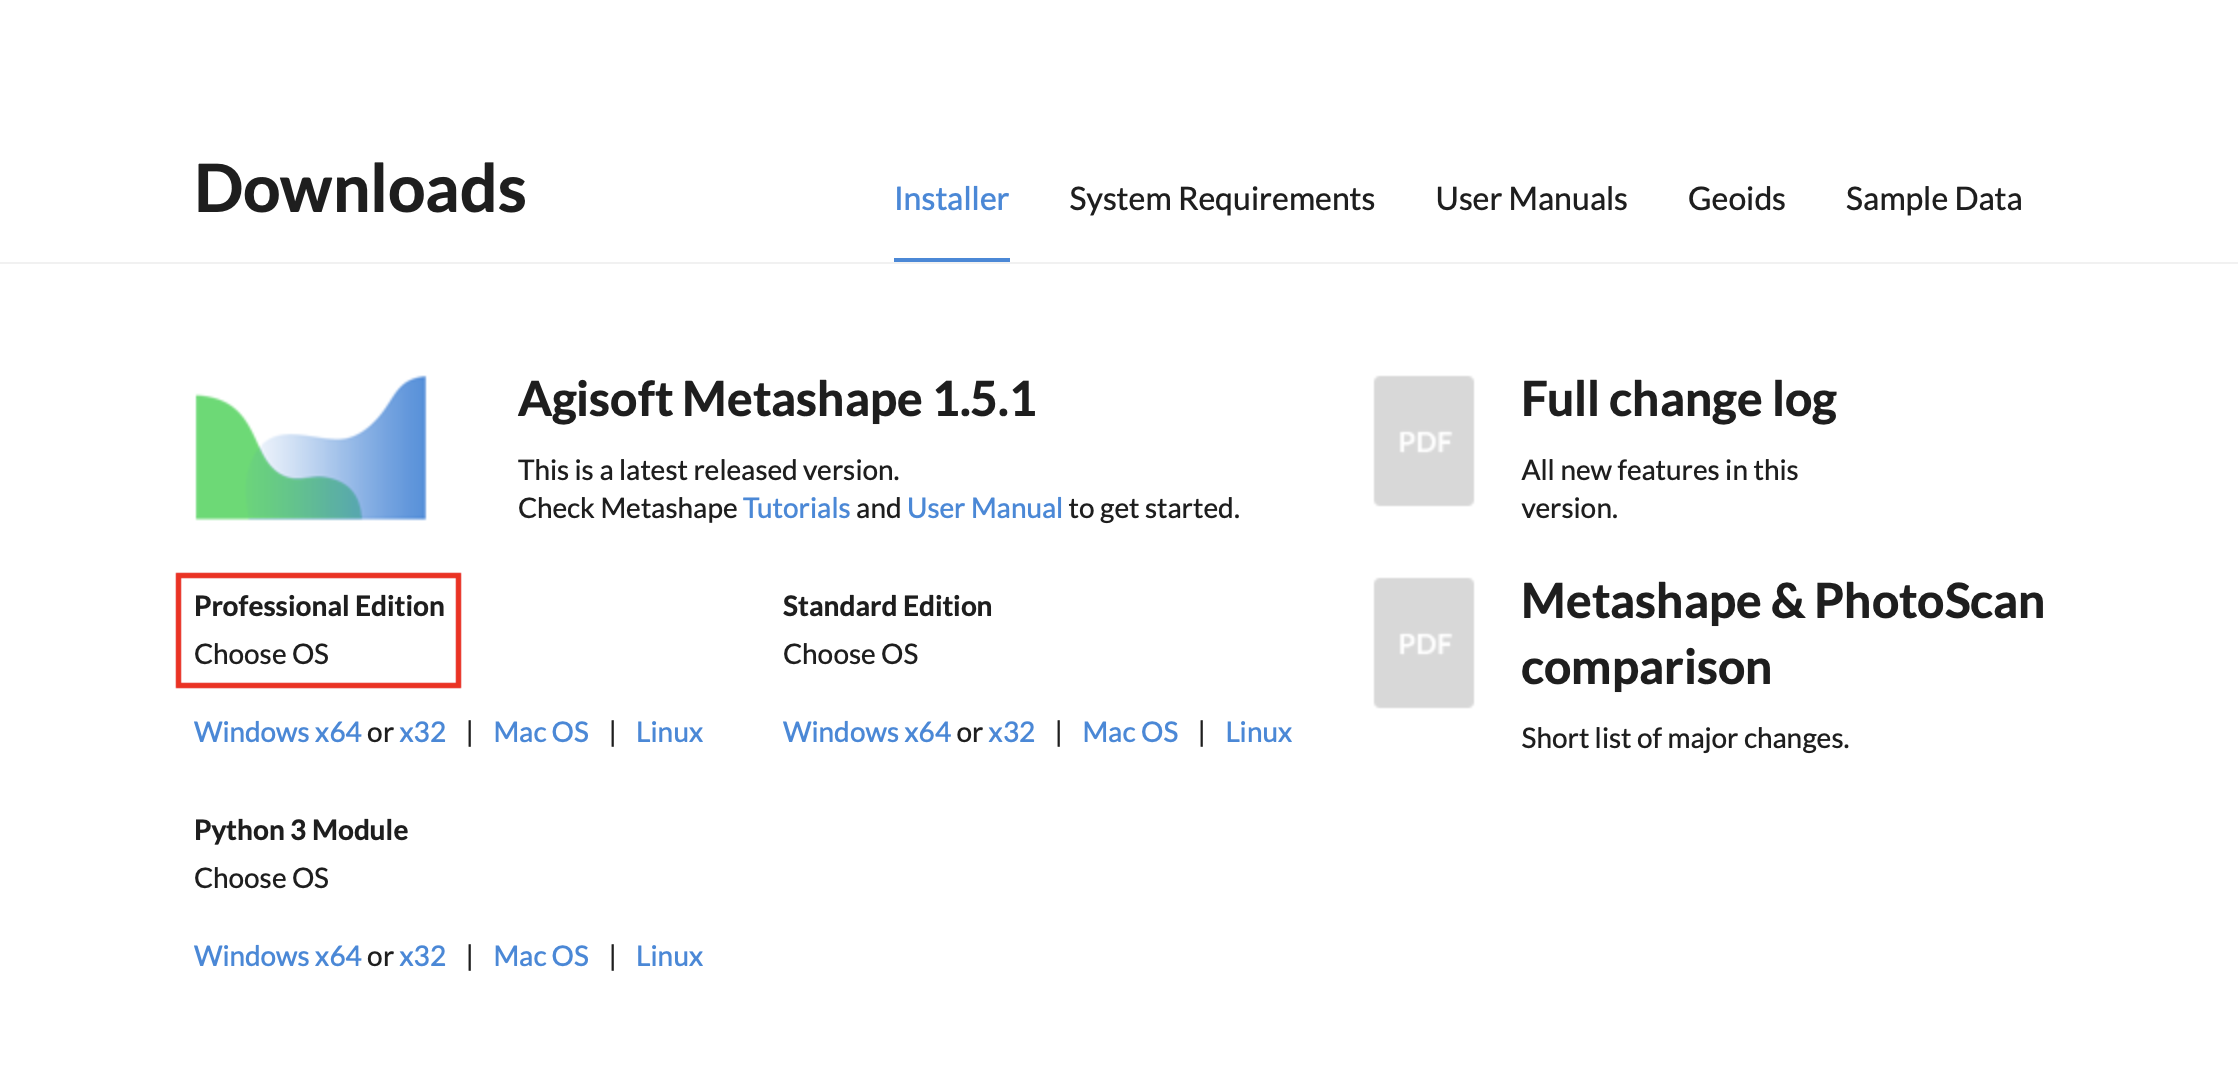
- Download Professional Edition and choose appropriate OS
Using Metashape
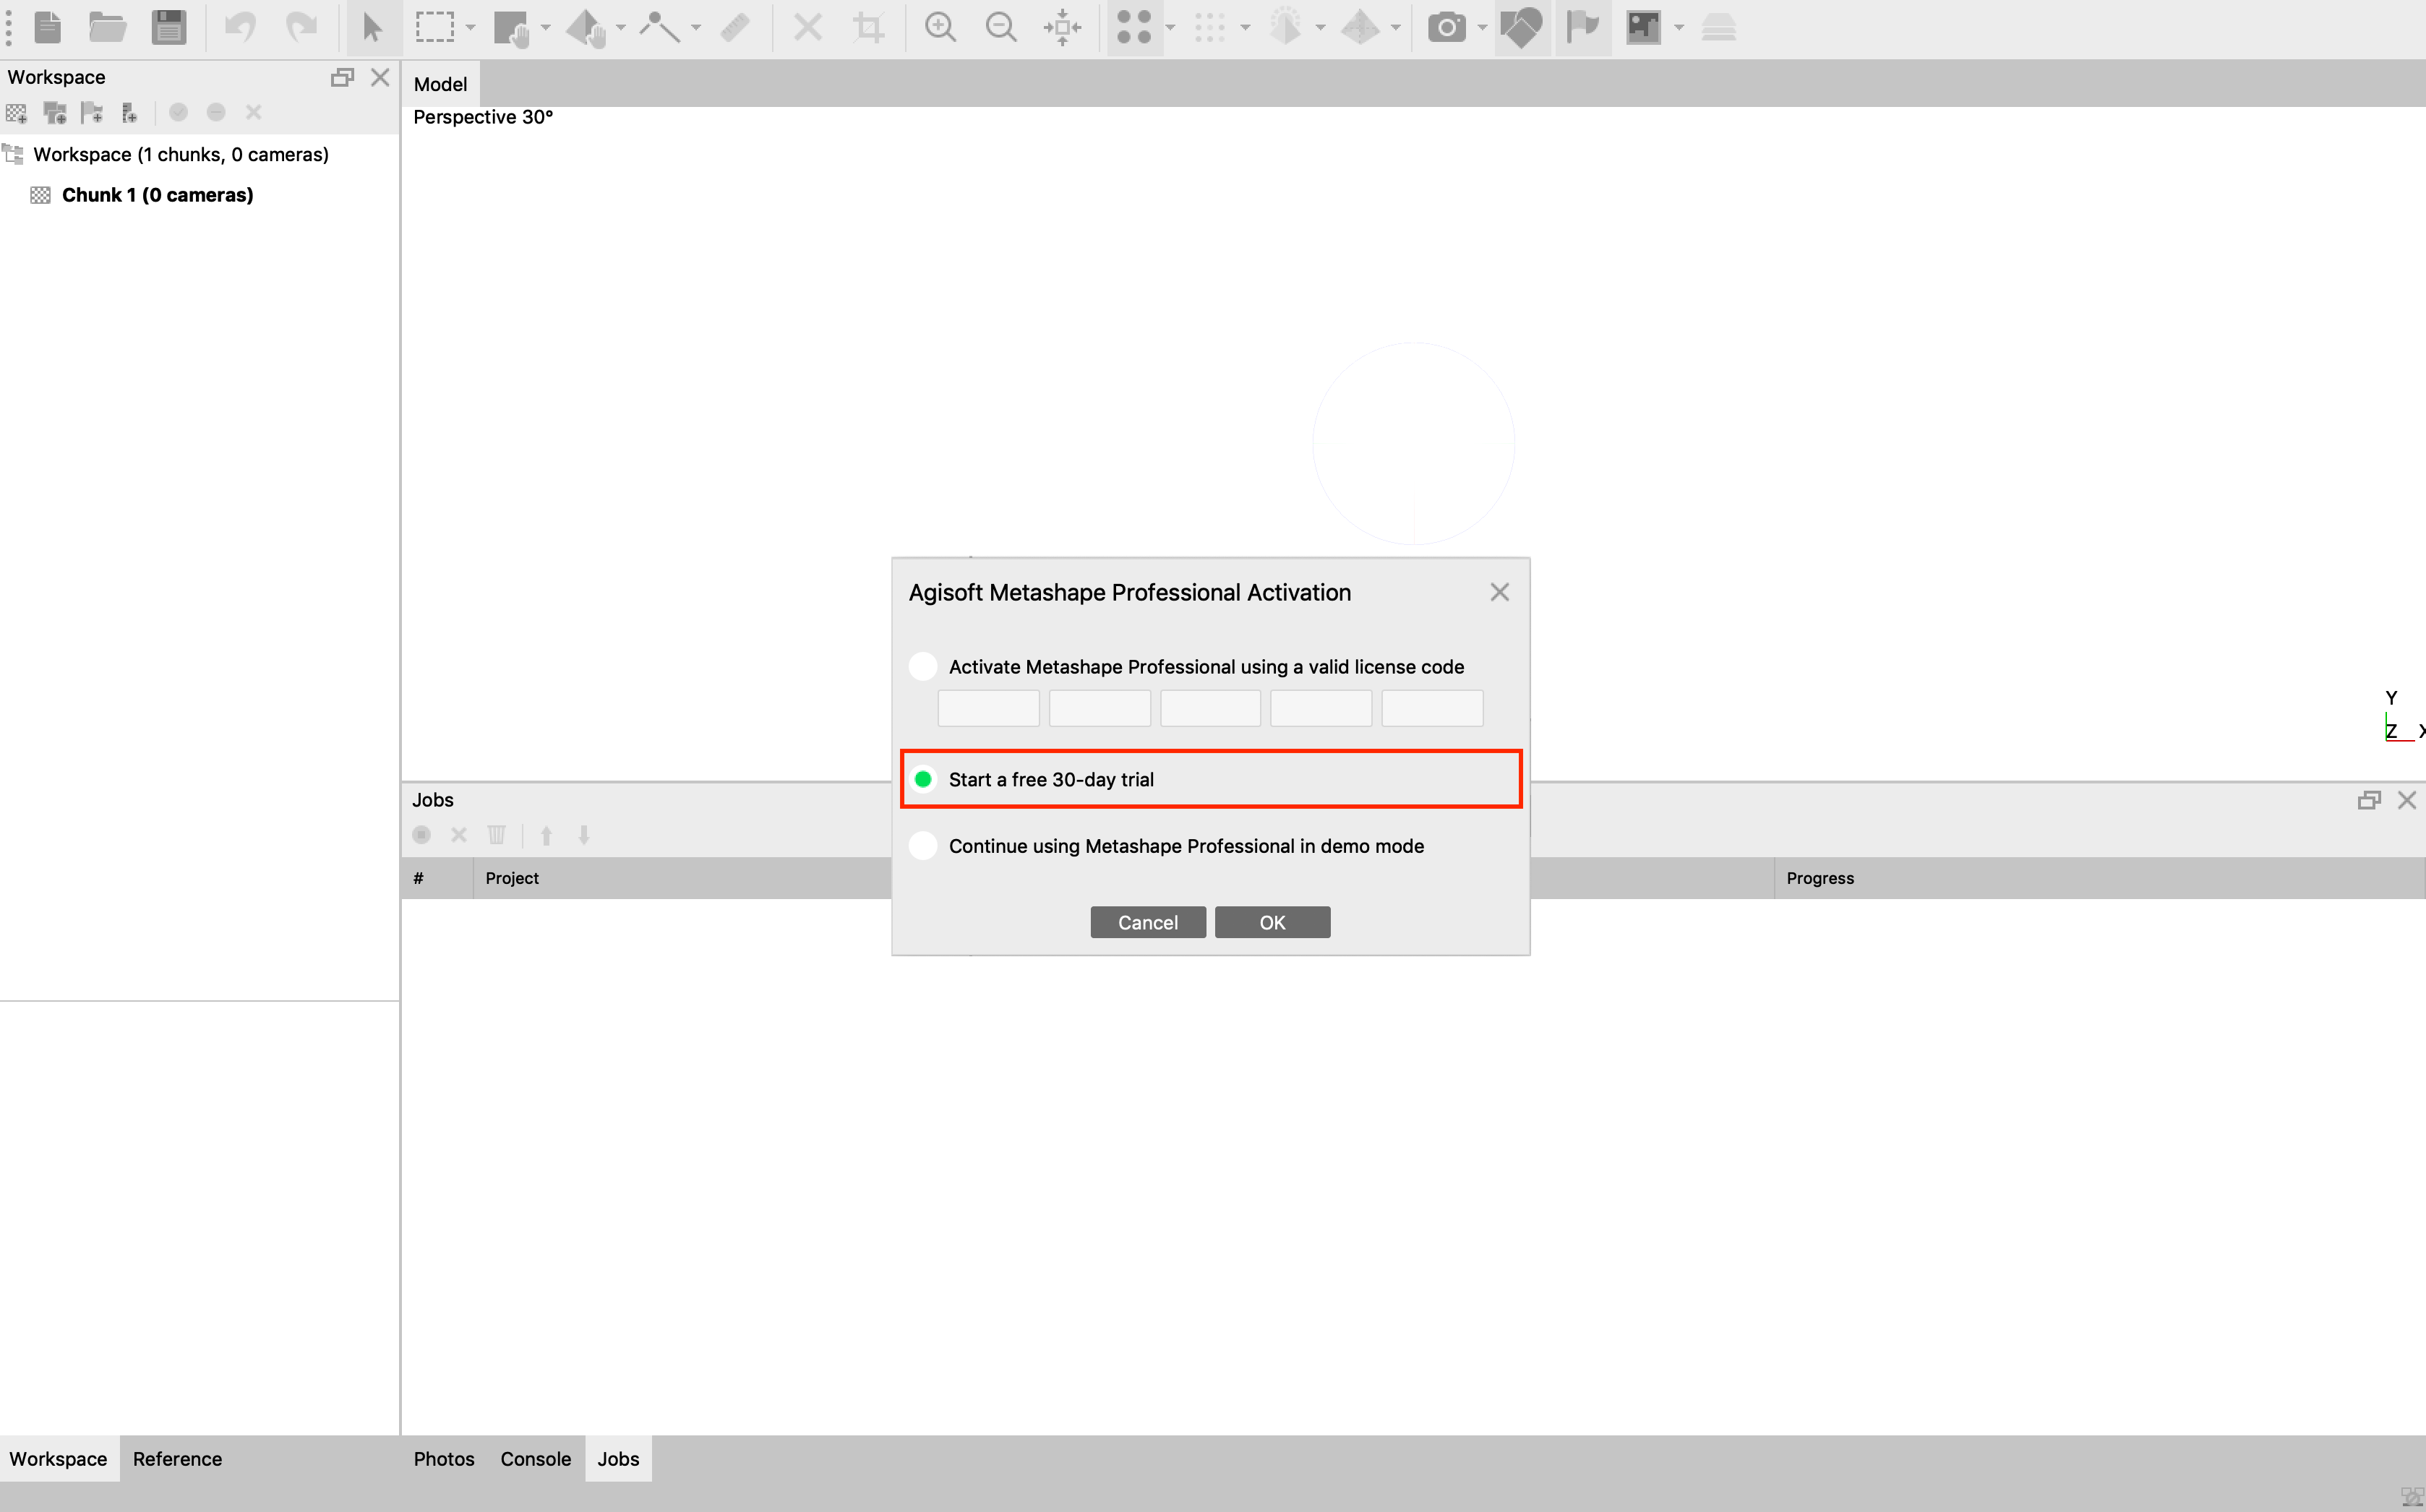
- Start a free 30-day trial
Using Metashape
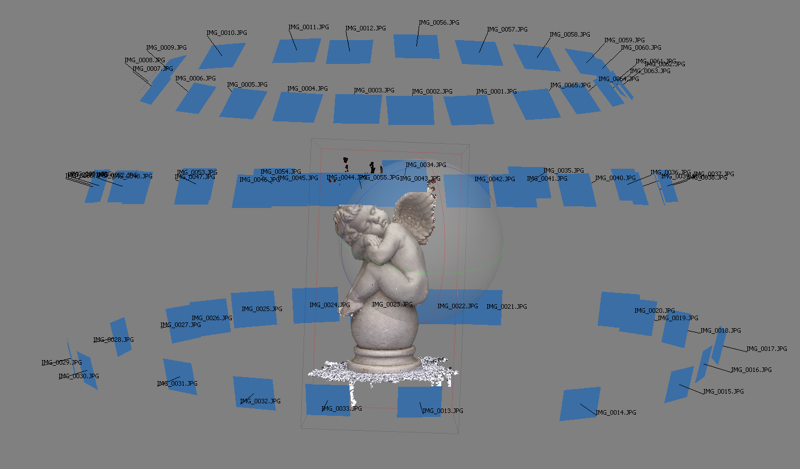
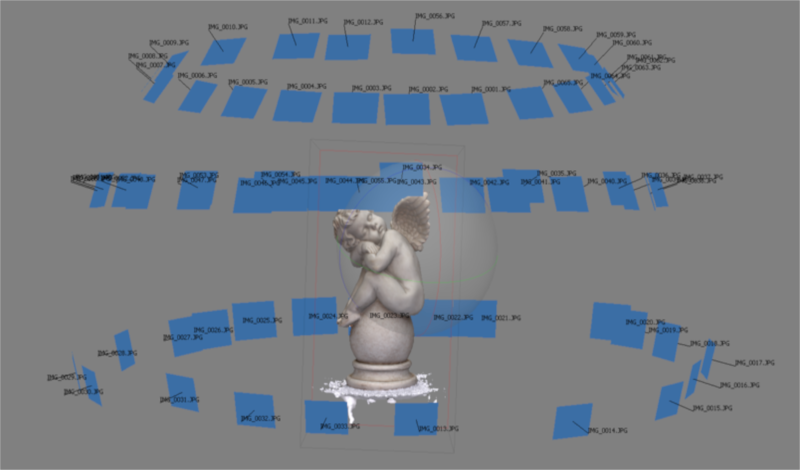
- Add photos
Using Metashape
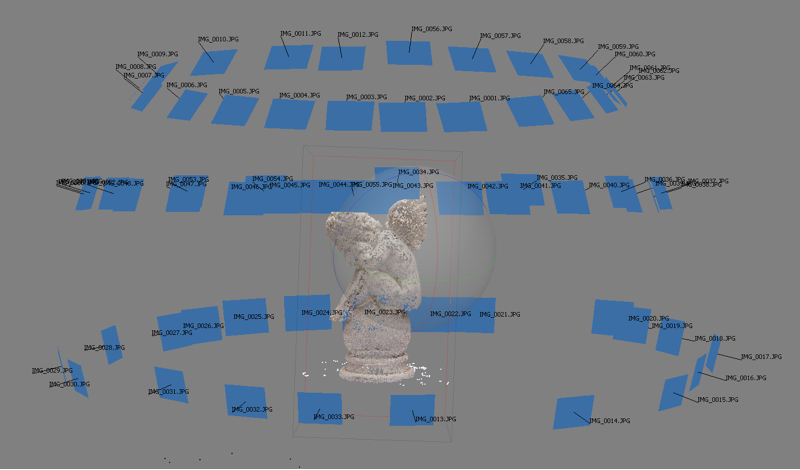
- Align photos
Using Metashape
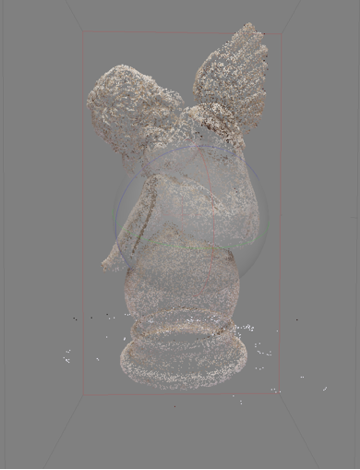
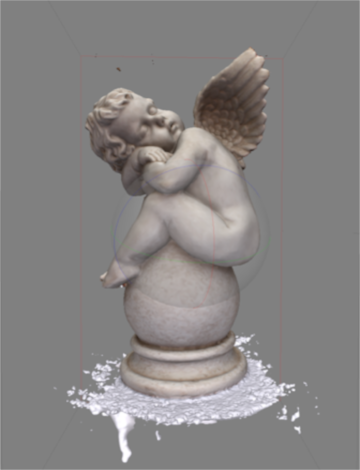
- Build Dense Cloud

Using Metashape
- Build Mesh
Using Metashape


Using Metashape
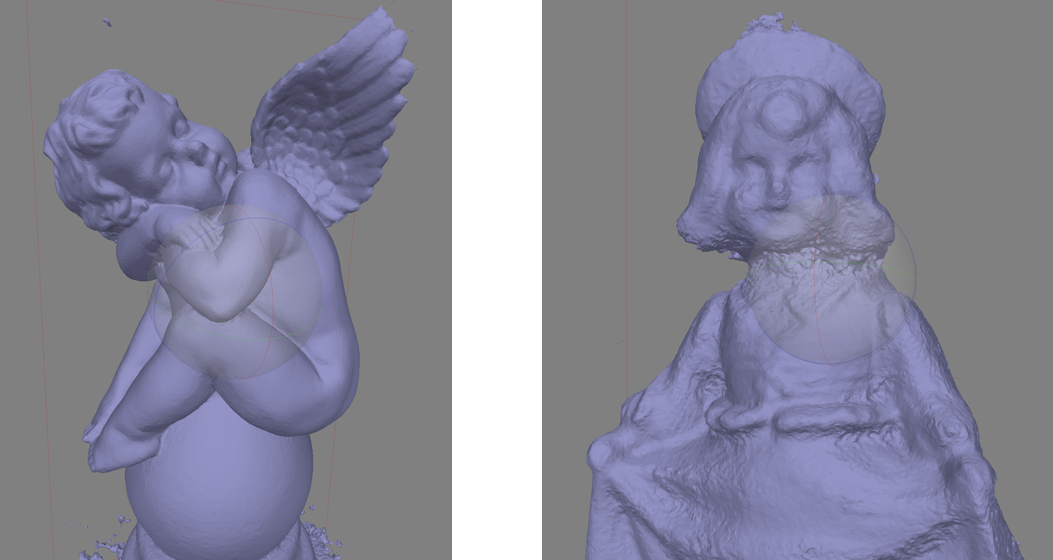
- Very high quality results are achievable, but with effort