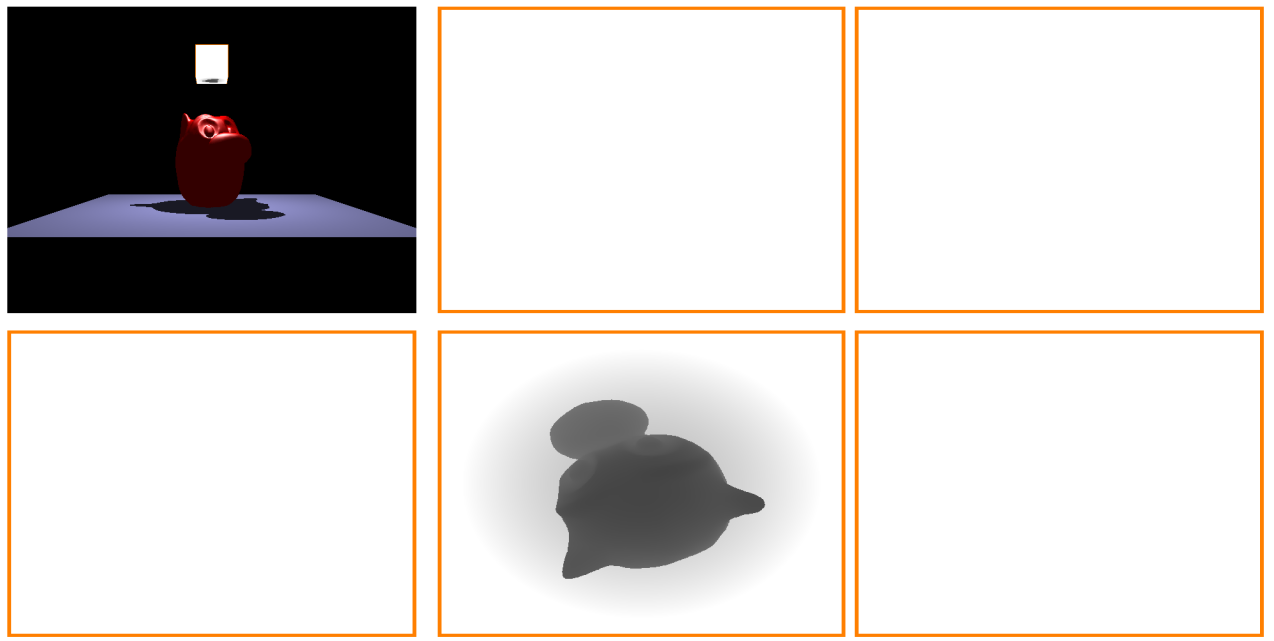
Computer Graphics
Assignment 7 – Shadows & Cube mapping
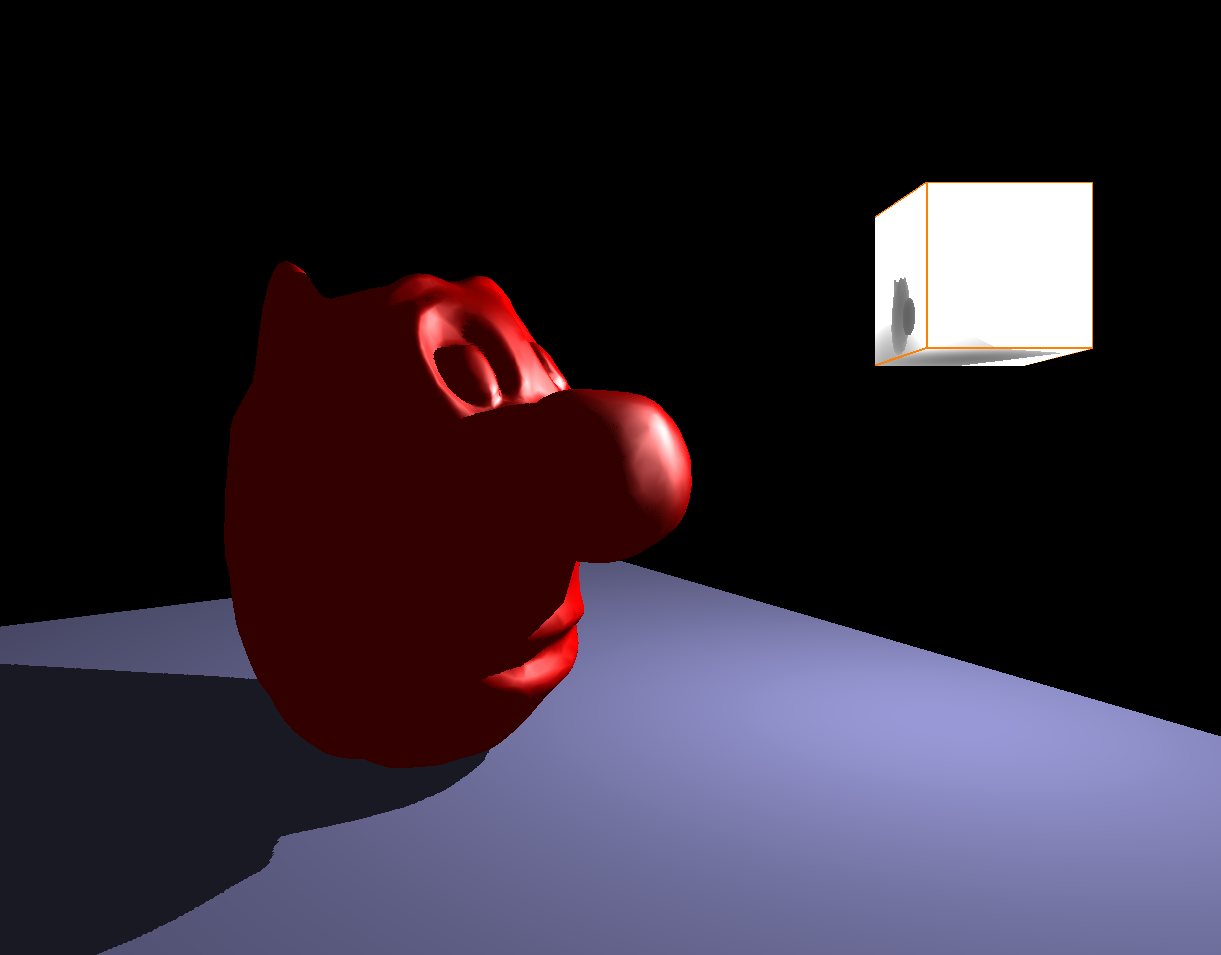
Computer Graphics
Group


Review of Phong Lighting with Shadows
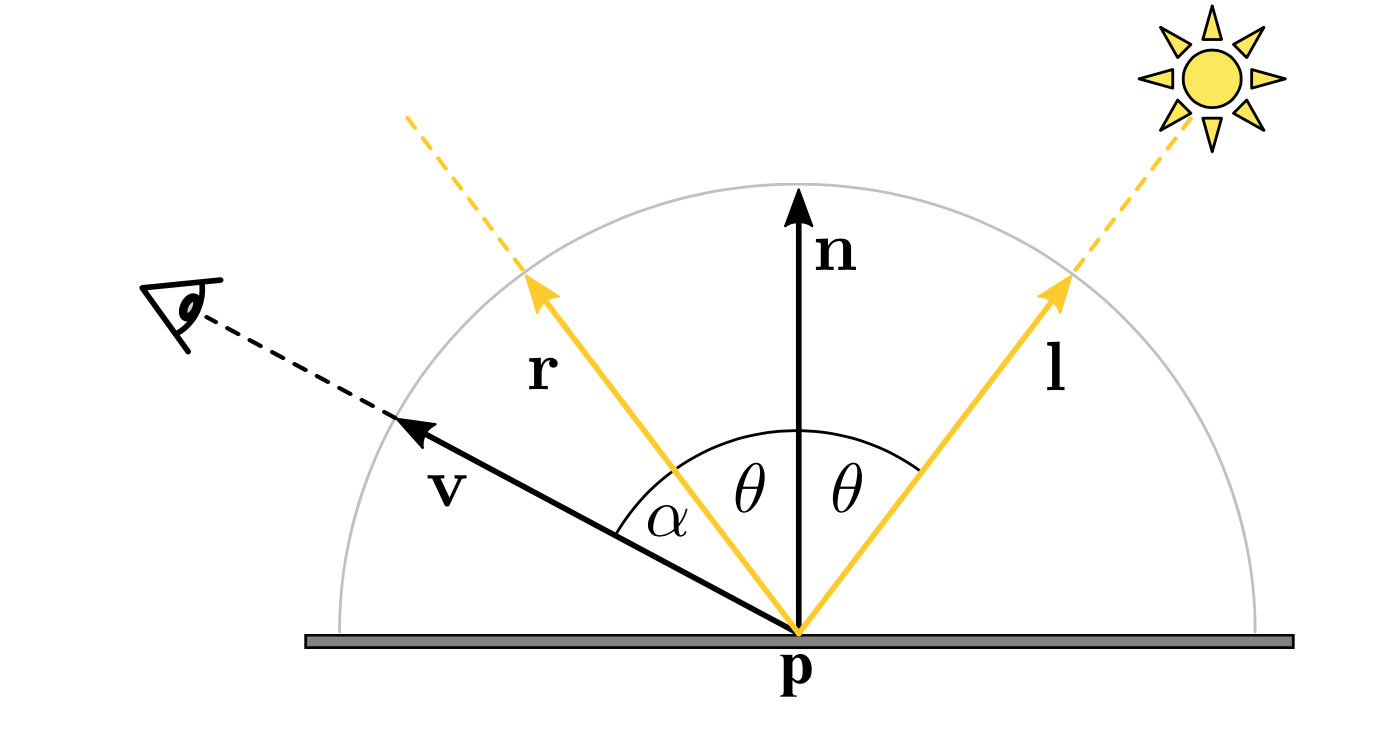
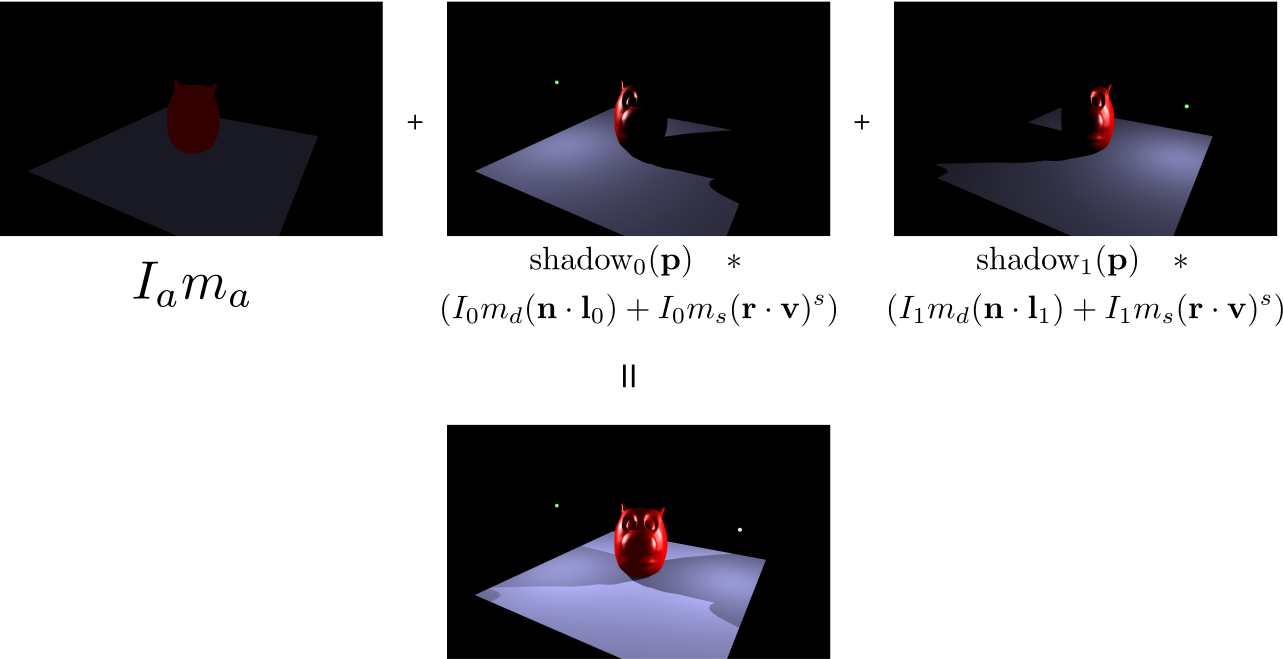
\[ I = I_{a}m_{a} + \sum_{l} \text{shadow}_l(\vec{p}) * \left( I_{l}m_{d}(\mathbf{n}\cdot \mathbf{l}) + I_{l}m_{s}(\mathbf{r} \cdot \mathbf{v})^{s} \right) \\ \quad \text{with shadow}_l(\vec{p}) \;=\; \left\{\begin{array}{ll} 1 & \text{light $l$ is visible from } \vec{p},\\ 0 & \text{light $l$ is blocked from } \vec{p} \end{array} \right. \]
Review of Shadow Rays
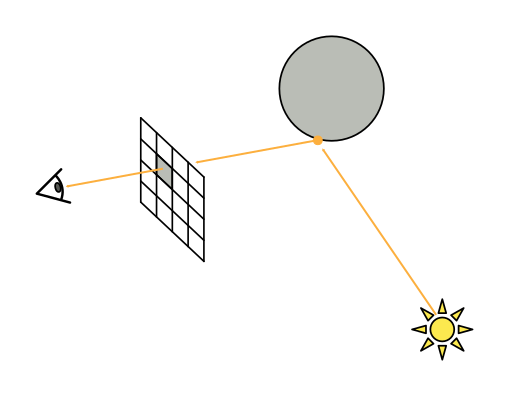
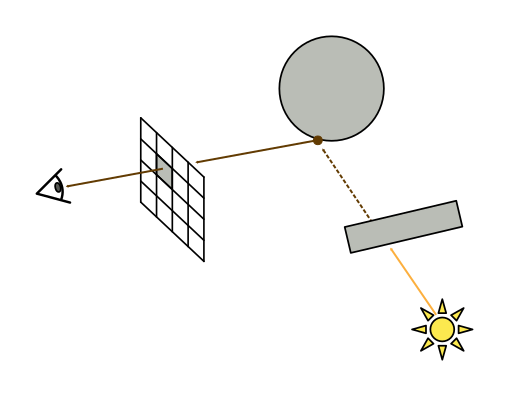
- Shadows from Assignment 2
- Cast “shadow ray” from point to light
- Check for other intersections appearing before the light
- An equivalent test:
- Cast ray from light to point
- Check for intersections closer than the point
Shadow Mapping
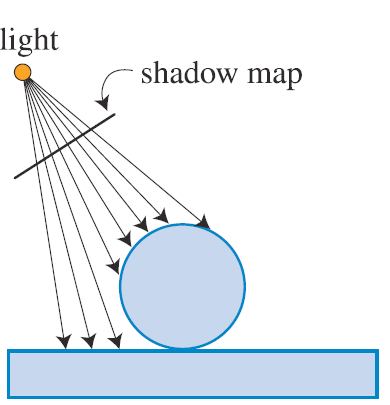
- Casting light rays into the scene is just like OpenGL rendering
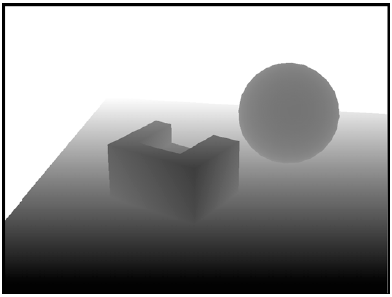
- Instead of lighting the fragments, calculate their intersection distances
- Write these distances to a “shadow map” texture:
Shadow Mapping
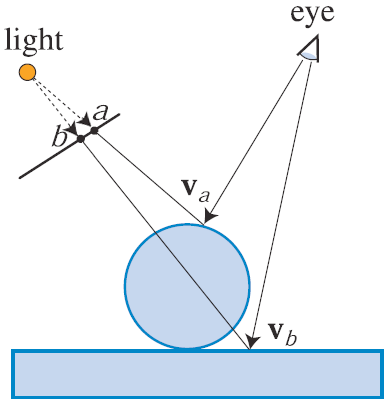
- Test for shadows while lighting a fragment:
- Determine where ray from light to fragment pokes through the shadow map image plane
- Sample shadow map at these texture coordinates to read light ray’s intersection distance
- Compare as in Assignment 2
- This is a constant time operation!
Cube Shadow Mapping
- What about omnidirectional point lights?
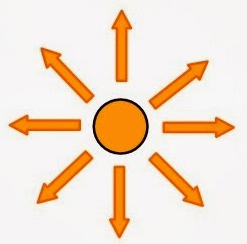 ??
??
- We can’t just render a single shadow map image…
Cube Shadow Mapping
- Instead, we render 6 shadow maps, one for each face of a cube surrounding the light:
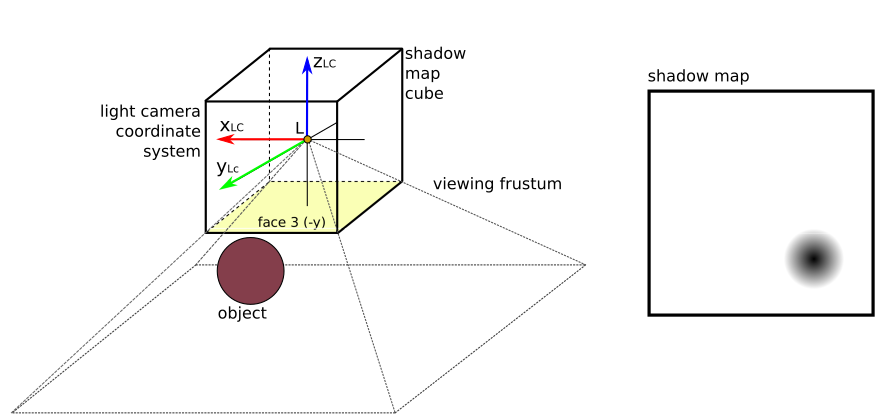
Cube Shadow Mapping
- Instead, we render 6 shadow maps, one for each face of a cube surrounding the light:
- Example implementation:
Cube Mapping
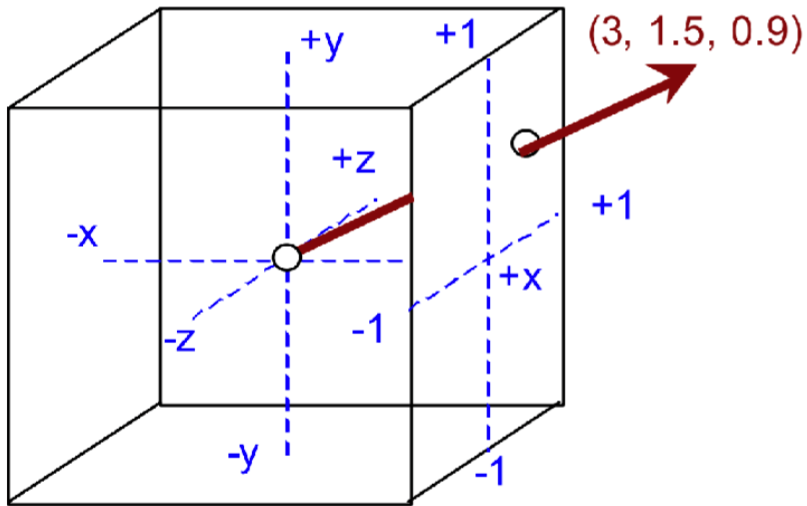
- By creating our shadow maps on cubes, we can use GPUs’ cube mapping functionality.
- Sampling a cube map at 3D coordinates \((s, t, r)\) give us the value where this vector pokes through the cube.
- This is exactly the operation we need to determine where light rays pierce the shadow map image plane:
Multi-Pass Rendering
- To avoid storing a cube map textures for each light, render each light’s contribution in a separate pass
(Re-use a single shadow map)
Task 1: Light View and Projection Matrices
- Construct the view and projection matrices for rendering the shadow map for a given light and cube face.
- Same projection matrix for all lights/faces:
- Determine the
fovyandaspectratio parameters that produce the viewing frustum shown above. - You can use
near = 0.1, far = 6.
- Determine the
Task 1: Light View and Projection Matrices
- The cube (and camera) need to be oriented in eye space, so that the cube map can be sampled with your light ray vector computed in eye space.
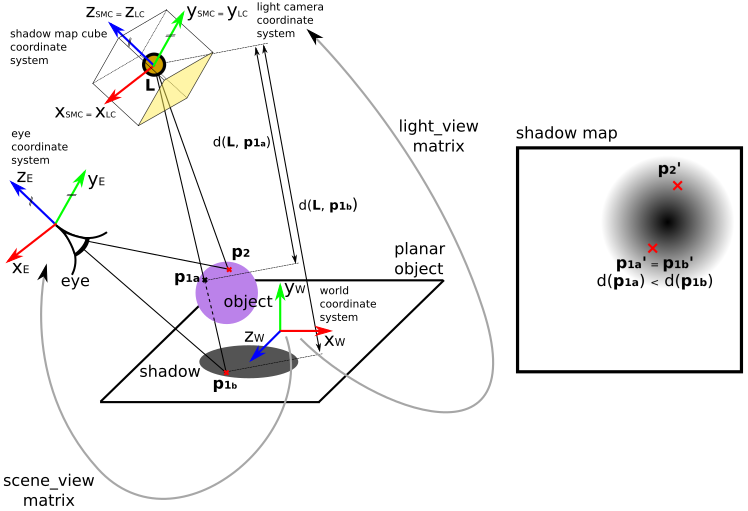
Task 1: Light View and Projection Matrices
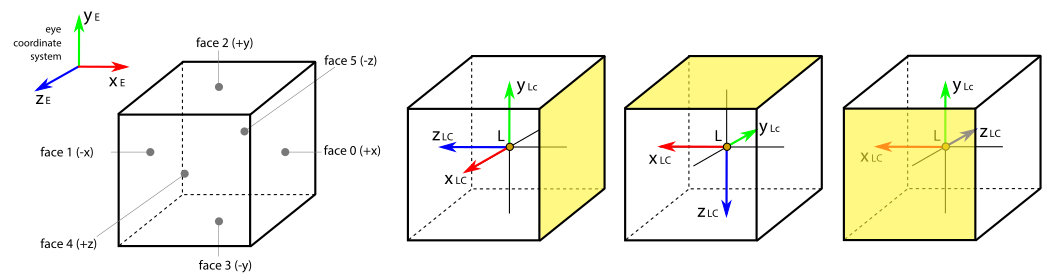
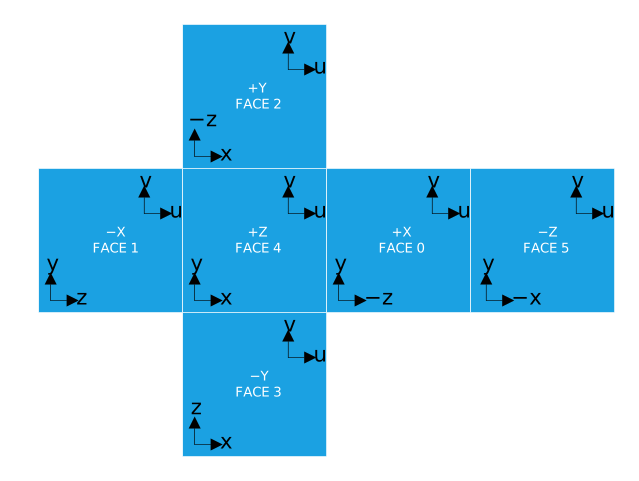
- You need a different view matrix for each cube face
- Use
mat4::look_at(vec3 eye, vec3 center, vec3 up) - Camera must point through the cube face and have correct
upvector
(\({\bf y}_{LC}\) in this figure):
- Use
Debugging Light View/Projection Matrices
- Disable backface culling:
glDisable(GL_CULL_FACE);- Allows to see debug boxes around lights from the inside
- If you press the ‘C’ key and then repeatedly press the ‘F’ key, you should see the following images in sequence:
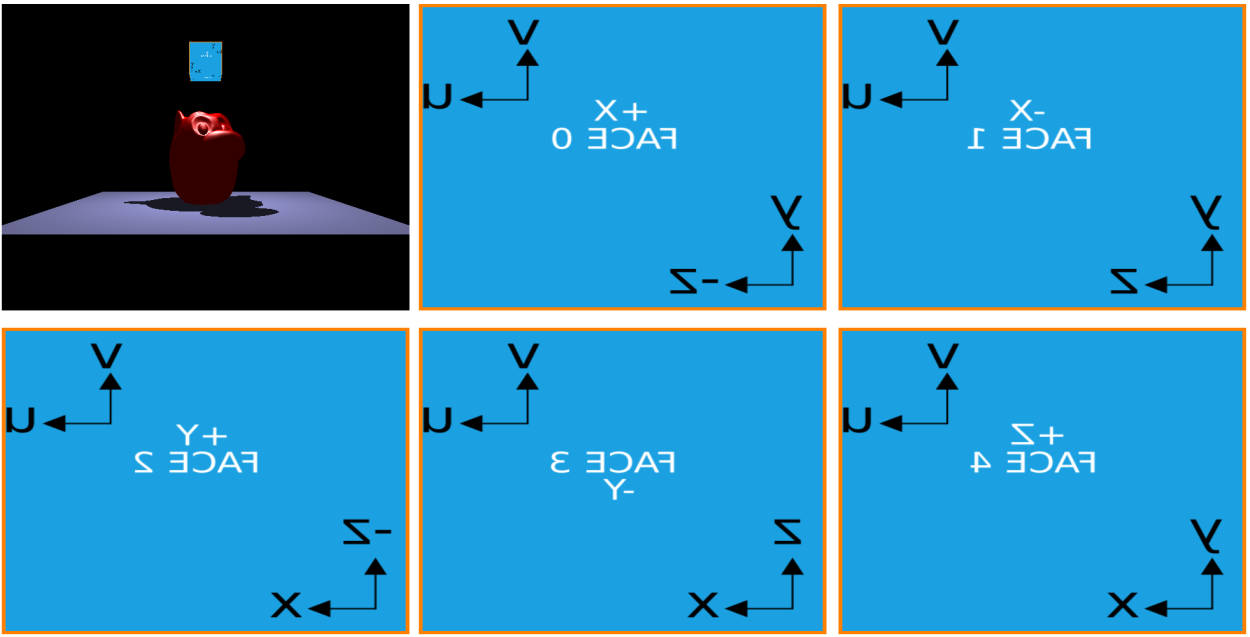
- Textures appear horizontally flipped because we are viewing from inside the cube.
- However, the axes shown still point in the correct direction!
Task 2: Drawing the Shadow Map
- Edit
shadowmap_gen.fragto output the Euclidean distance form the light to each fragment rendered. - Now you should see the following images for
neutral.offif you press ‘C’ twice and cycle through with the ‘F’ key: